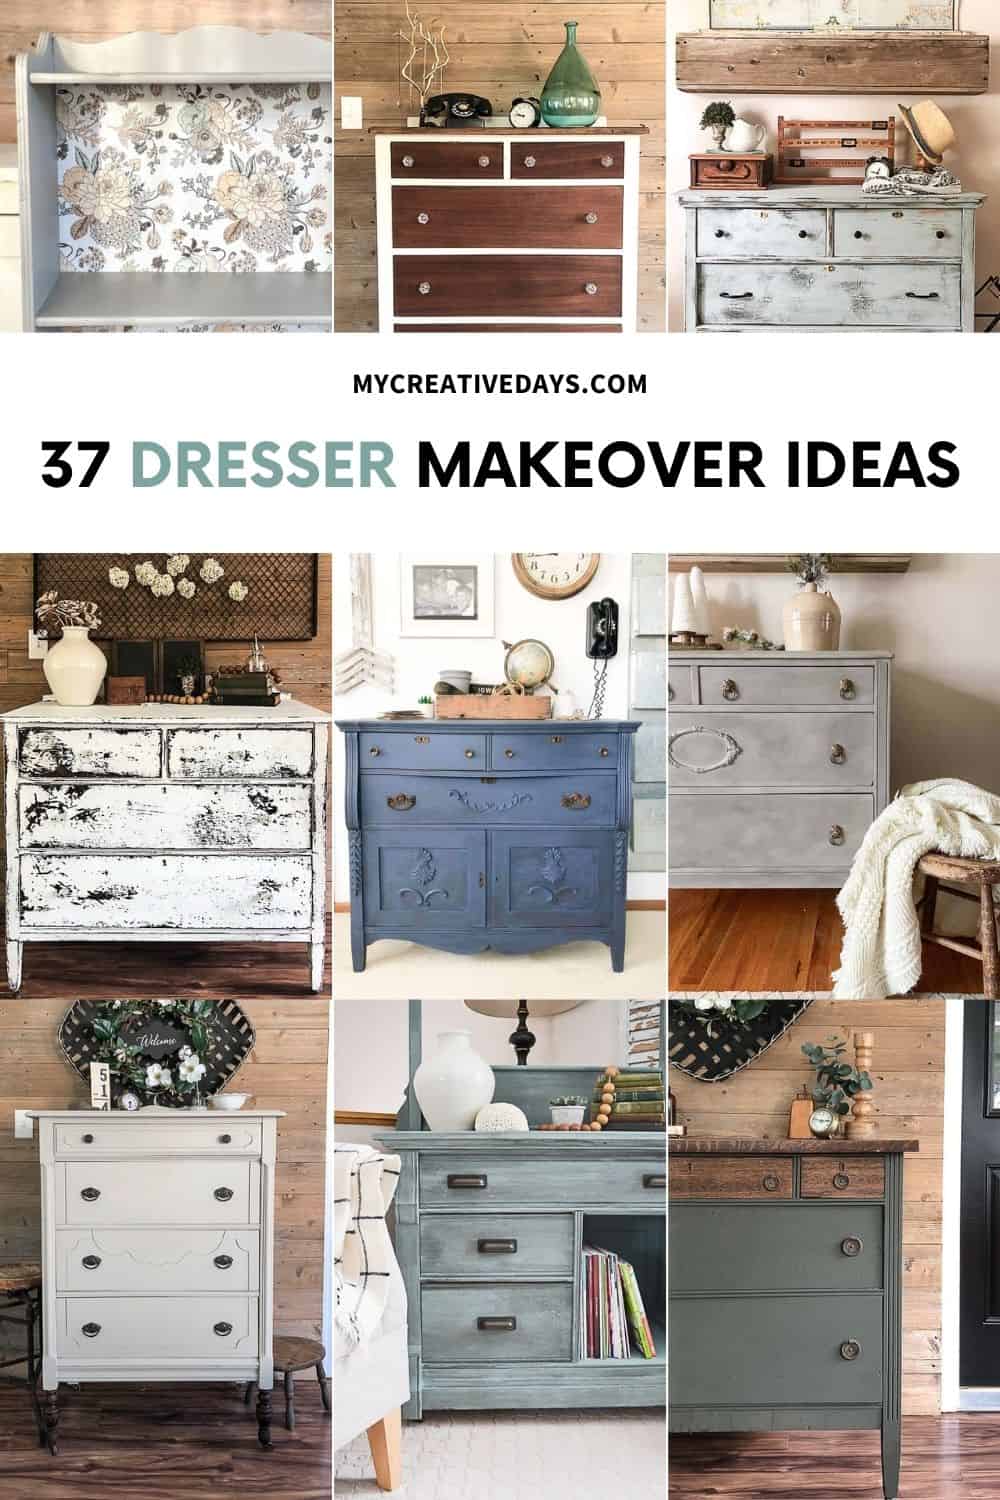
Diy furniture makeover involves transforming old or outdated furniture into stylish, functional pieces. This process can be both cost-effective and creative.
Revamping old furniture can breathe new life into your living space. It’s a perfect way to add unique character to your home without breaking the bank. Whether it’s repainting an old dresser, reupholstering a tired chair, or adding new hardware to a worn table, the possibilities are endless.
Diy projects allow you to customize pieces to fit your personal style and needs. Plus, it’s an eco-friendly choice, reducing waste by repurposing existing items. With a little effort and creativity, you can turn any piece of furniture into a statement piece.

Credit: www.mycreativedays.com
Introduction To Diy Furniture Makeover
Discover the joy of DIY furniture makeovers. Transform old pieces into stunning new creations. This hobby is rewarding and creative. You can personalize your home without spending much. It is fun and adds a personal touch to your space.
Benefits Of Diy Projects
There are many benefits to DIY furniture makeovers. Here are a few:
- Cost-Effective: Save money by revamping old furniture.
- Creative Expression: Show your unique style and creativity.
- Environmentally Friendly: Reduce waste by reusing furniture.
- Skill Development: Learn and improve handy skills.
Essential Tools And Materials
To start a DIY furniture makeover, you need some tools and materials. Here is a list:
| Tools | Materials |
|---|---|
| Sandpaper | Paint |
| Paintbrushes | Primer |
| Screwdrivers | Wood filler |
| Hammer | Varnish |
| Measuring Tape | Sealant |
Make sure you have these items before starting your project. They are essential for a successful makeover. Having the right tools makes the job easier and more fun. Enjoy transforming your furniture with these basic tools and materials.

Credit: www.tablerpartyoftwo.com
Choosing The Right Furniture
Embarking on a DIY furniture makeover journey begins with choosing the right pieces. This step is crucial for a successful transformation. You want furniture that is not only beautiful but also durable and functional. Let’s dive into how you can find and assess the perfect furniture for your DIY projects.
Finding Hidden Gems
Finding the right furniture often means searching for hidden gems. Local thrift stores, garage sales, and online marketplaces are great places to start. Look for items that have good bones but may need a bit of love.
- Thrift stores offer a wide variety of styles.
- Garage sales can have unique and vintage pieces.
- Online marketplaces provide convenience and variety.
Pay attention to the structure and material of the furniture. Solid wood pieces are ideal because they are durable and easy to work with. Avoid items with too much damage or missing parts, as these can be costly to repair.
Assessing Furniture Quality
Before purchasing any piece, assess its quality. This step ensures you invest in something worth your time and effort.
| Feature | What to Look For |
|---|---|
| Material | Opt for solid wood or sturdy metal. Avoid particleboard. |
| Joints | Check for dovetail or mortise-and-tenon joints. Avoid stapled pieces. |
| Surface | Ensure the surface is smooth and free of deep scratches. |
Once you find a piece that meets these criteria, you can feel confident about your choice. A good foundation is key to any successful DIY furniture makeover.
Preparing Your Furniture
Before starting your DIY furniture makeover, it’s essential to prepare your furniture properly. Proper preparation ensures a smooth and long-lasting finish. This section will guide you through the steps of preparing your furniture for a makeover.
Cleaning And Sanding
Cleaning your furniture is the first step. Remove any dust, dirt, or grime. Use a damp cloth with mild soap to clean the surface. Make sure the furniture is completely dry before moving to the next step.
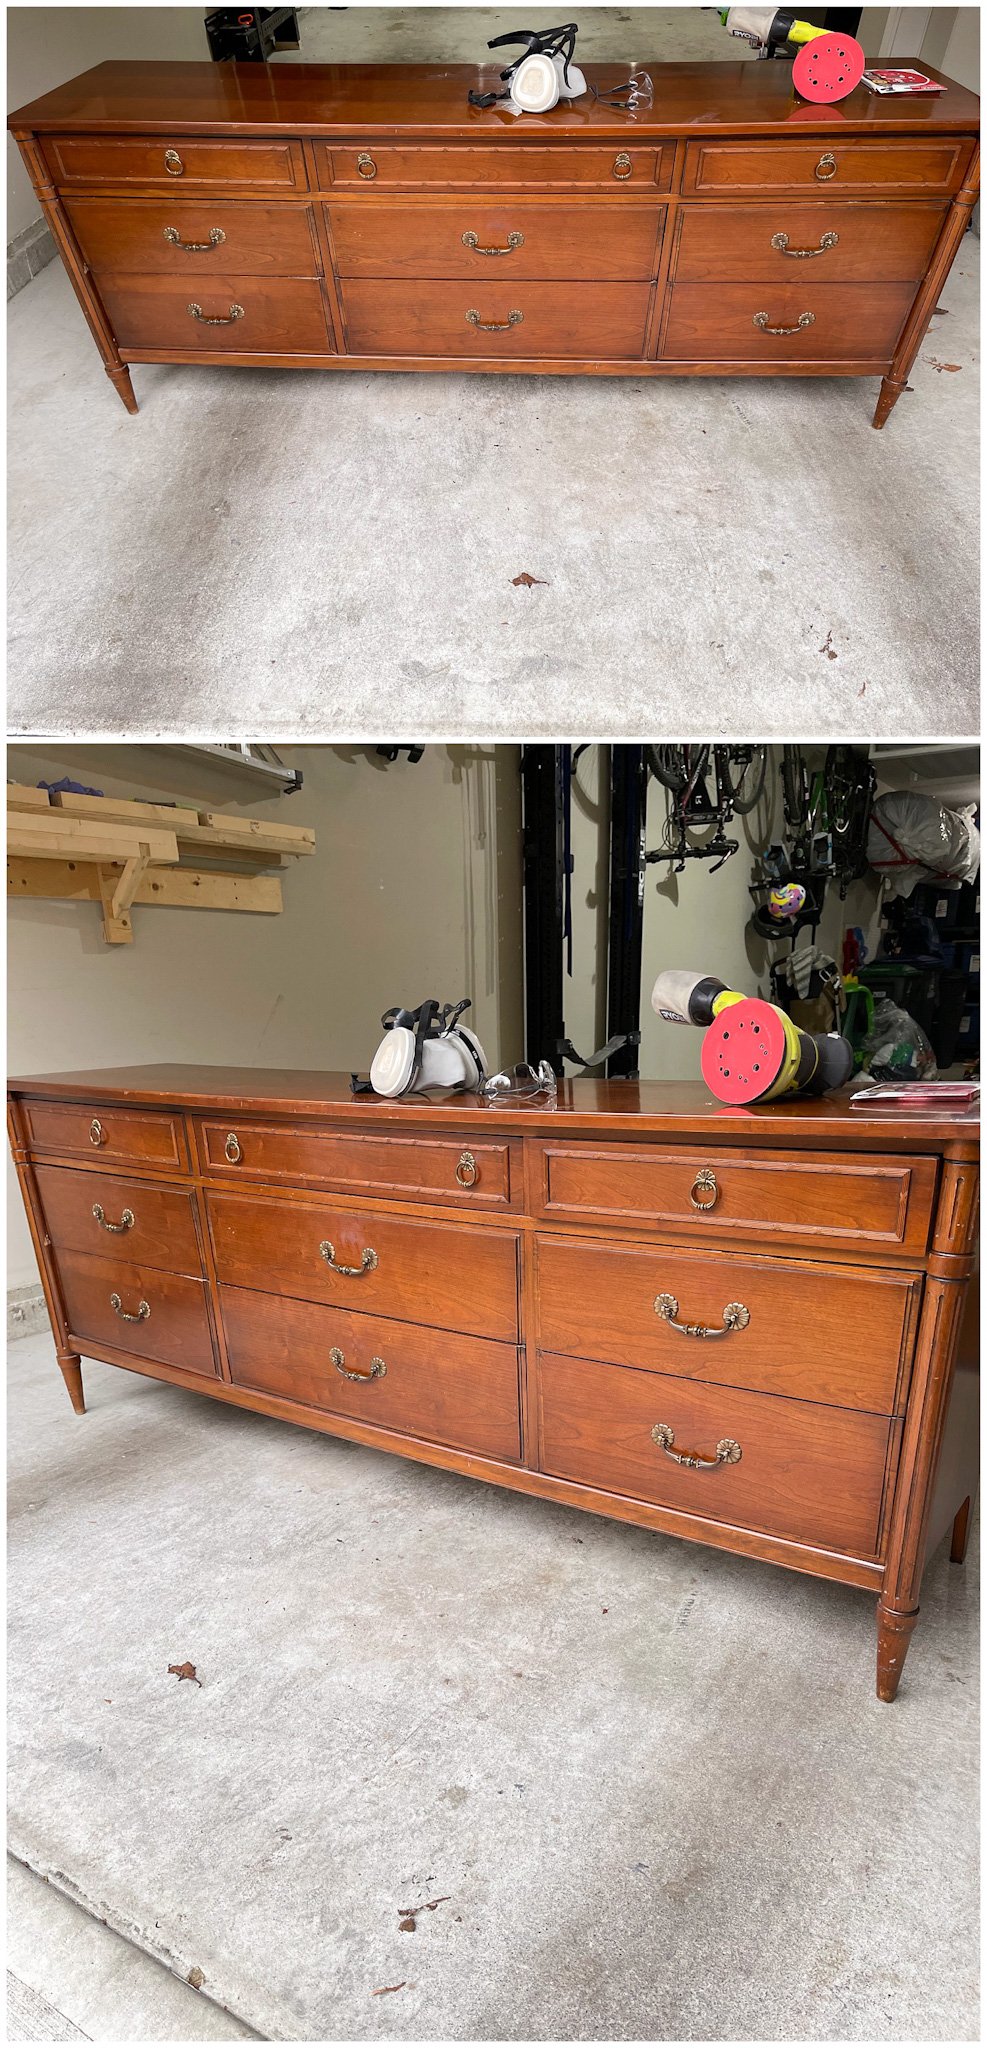
Next, you need to sand the furniture. Sanding helps to remove old paint or varnish. It also creates a rough surface for new paint to adhere to. Use medium-grit sandpaper for this step. Always sand in the direction of the wood grain. After sanding, wipe the furniture with a clean cloth to remove any dust.
Repairing Damages
Before painting, inspect your furniture for any damages. Look for cracks, holes, or loose joints. Small cracks and holes can be filled with wood filler. Use a putty knife to apply the filler. Let it dry completely, then sand the area smooth.
If there are loose joints, use wood glue to secure them. Clamp the joints together and let the glue dry. For larger damages, you might need to replace parts of the furniture. Ensure all repairs are done before you start painting.
Here is a quick checklist to follow:
- Clean the furniture with a damp cloth.
- Sand the surface with medium-grit sandpaper.
- Fill cracks and holes with wood filler.
- Secure loose joints with wood glue.

Credit: www.kendrafoundit.com
Painting Techniques
Transforming old furniture into stunning pieces can be fun. Using the right painting techniques can make all the difference. In this section, we will explore the best ways to paint your furniture. Let’s dive into the details.
Choosing The Right Paint
Selecting the right paint is crucial. Different paints work for different surfaces. Here are some options:
- Latex Paint: Easy to use and clean up. Ideal for indoor furniture.
- Chalk Paint: Gives a vintage look. No need for priming.
- Oil-Based Paint: Durable and smooth finish. Best for high-traffic areas.
Make sure to pick a paint that suits your furniture’s material. Always test a small area first.
Step-by-step Painting Guide
Follow this simple guide to achieve a professional finish:
- Prepare the Surface: Clean the furniture with a damp cloth. Sand if needed.
- Prime the Surface: Use a primer to ensure paint sticks well.
- Apply the Paint: Use a brush or roller. Apply thin, even coats.
- Let it Dry: Allow each coat to dry completely before adding another.
- Seal the Paint: Use a topcoat for extra protection.
Remember to paint in a well-ventilated area. Use drop cloths to protect your workspace.
Staining And Finishing
Staining and finishing can transform old furniture into stunning pieces. Learn the best ways to stain and finish your DIY projects.
Types Of Stains
Choosing the right stain is crucial. Different stains offer unique looks. Here are some popular types:
- Oil-Based Stains: These stains penetrate wood deeply. They give a rich color.
- Water-Based Stains: These stains dry quickly. They are easy to clean up.
- Gel Stains: These stains are thick. They are perfect for vertical surfaces.
- Lacquer Stains: These stains dry fast. They provide a hard finish.
Applying Stain And Finish
Applying stain and finish requires patience. Follow these steps for a perfect finish:
- Prepare the Surface: Sand the wood. Remove all dust.
- Apply the Stain: Use a brush or cloth. Wipe off excess stain.
- Let it Dry: Allow the stain to dry completely. This can take several hours.
- Apply the Finish: Choose a finish like polyurethane. Apply in thin coats.
- Sand Between Coats: Lightly sand each coat. This ensures a smooth finish.
- Final Coat: Apply the final coat. Let it dry completely.
These steps will make your furniture look new. Enjoy your beautiful DIY project!
Upholstery Tips
Transforming old furniture can breathe new life into your home. One of the easiest ways to do this is through reupholstery. Upholstery tips can help you achieve professional results. This section covers essential tips for a successful DIY furniture makeover.
Selecting Fabric
Choosing the right fabric is crucial. It affects both appearance and durability. Consider the following factors:
- Durability: Look for fabrics like canvas, denim, or twill for high-use furniture.
- Color and Pattern: Choose colors and patterns that match your decor.
- Maintenance: Some fabrics are easier to clean than others. Opt for stain-resistant materials for households with kids or pets.
Feel the fabric before buying. Ensure it is comfortable to touch.
Reupholstering Basics
Reupholstering might seem daunting, but breaking it into steps simplifies the process. Here’s a basic guide:
- Remove Old Fabric: Carefully take off the old upholstery. Use a staple remover or pliers.
- Inspect the Frame: Check for any damage or weak spots in the furniture frame.
- Cut New Fabric: Use the old fabric as a template to cut the new one.
- Attach New Fabric: Staple the new fabric onto the furniture frame. Start from the center and work your way out.
- Finishing Touches: Trim any excess fabric and ensure all staples are secure.
Practice makes perfect. Don’t be afraid to start with small projects.
Creative Additions
Transforming old furniture into something new and stylish can be fun. With a few creative additions, your DIY furniture makeover can stand out. Adding decorative elements or using stencils and decals can make a big difference.
Adding Decorative Elements
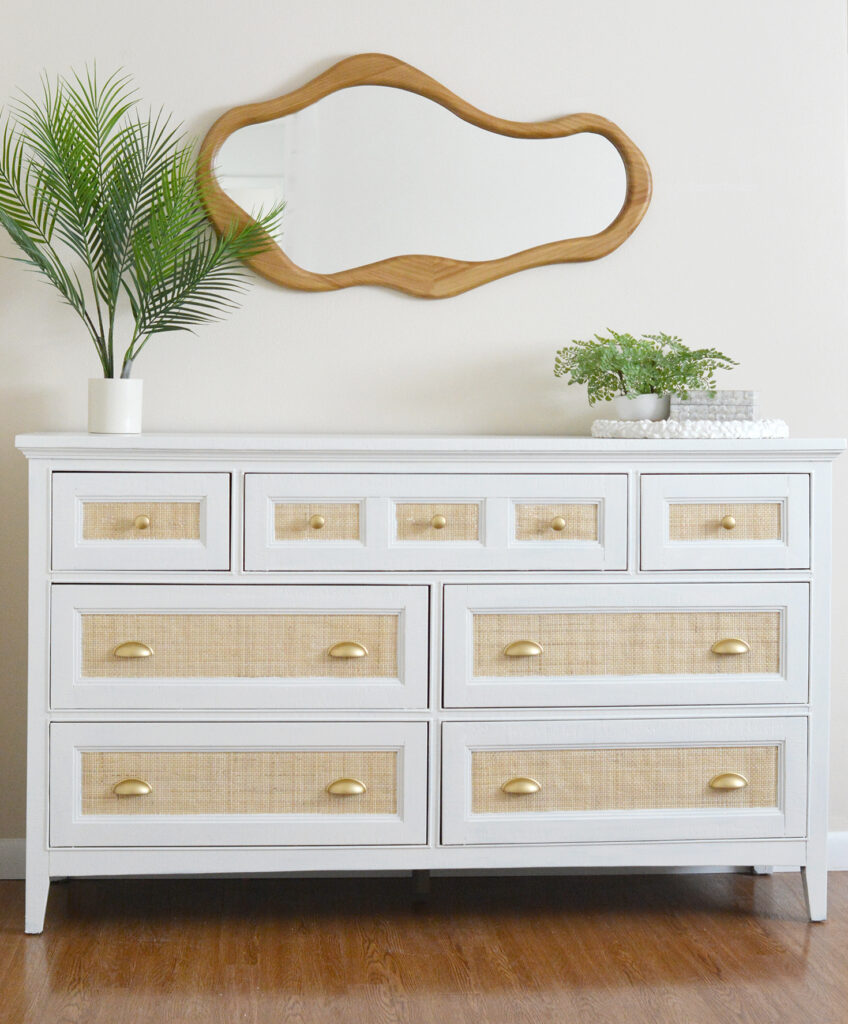
Decorative elements can give your furniture a unique touch. You can use knobs, handles, or even beads. These small additions can make a plain piece look special. Here are some ideas:
- New Knobs: Replace old knobs with colorful ones.
- Handles: Add stylish handles to drawers or doors.
- Beads: Glue beads to the edges for a fancy look.
Decorative trims or moldings can also add charm. Attach these to furniture edges or legs. They can make your piece look more elegant.
Using Stencils And Decals
Stencils and decals can turn a boring surface into art. They are easy to use and come in many designs. You can create patterns, shapes, or even words.
- Choose a Design: Pick a stencil or decal that you like.
- Prepare the Surface: Clean the furniture surface well.
- Apply the Stencil: Secure the stencil in place with tape.
- Paint or Apply Decal: Use paint for stencils or stick the decal on.
- Remove Carefully: Take off the stencil or smooth out the decal.
Stencils and decals can add personality to your furniture. They are perfect for adding intricate designs without much effort.
For more ideas, here is a quick comparison of the options:
| Option | Ease of Use | Cost |
|---|---|---|
| Knobs and Handles | Easy | Low |
| Beads | Medium | Low |
| Stencils | Medium | Medium |
| Decals | Easy | Medium |
With these creative additions, your furniture will look amazing. Get started with your DIY furniture makeover today!
Maintaining Your Diy Furniture
Maintaining your DIY furniture ensures it lasts long and looks great. Proper care helps preserve the effort you put into your projects. This section covers essential tips to keep your creations in top shape.
Regular Cleaning Tips
Keeping your DIY furniture clean is crucial. Dust and dirt can damage surfaces over time. Here are some simple tips for regular cleaning:
- Dust regularly: Use a soft cloth to remove dust weekly.
- Vacuum upholstery: Use a vacuum with a brush attachment for fabric furniture.
- Wipe spills immediately: Clean spills right away to prevent stains.
- Use gentle cleaners: Avoid harsh chemicals. Use mild soap and water instead.
Handling Wear And Tear
Even the best-made furniture experiences wear and tear. Addressing these issues promptly keeps your furniture looking new. Follow these steps to handle common problems:
- Fix scratches: Use wood filler or a wax stick for minor scratches.
- Tighten screws: Regularly check and tighten loose screws or bolts.
- Repaint or refinish: Freshen up surfaces with a new coat of paint or varnish.
- Replace worn parts: Swap out worn or broken parts like legs or handles.
By following these tips, you can maintain your DIY furniture and enjoy it for years. Regular care ensures your pieces remain beautiful and functional.
Showcasing Your Work
After completing your DIY furniture makeover, showcasing your work is essential. It highlights your efforts and inspires others to try their own projects. Here are some practical tips on how to effectively showcase your DIY furniture makeovers.
Photography Tips
High-quality photos are crucial for showcasing your furniture makeovers. Follow these tips to capture stunning images:
- Use Natural Light: Take photos during the day to avoid harsh shadows.
- Choose a Clean Background: Keep the background simple to focus on the furniture.
- Use a Tripod: A tripod helps keep your camera steady for clear shots.
- Take Multiple Angles: Capture your furniture from various angles to show all details.
- Edit Your Photos: Use basic editing tools to enhance brightness and contrast.
Sharing On Social Media
Sharing your work on social media platforms can increase its visibility. Here are some effective ways to do it:
- Use Relevant Hashtags: Include popular hashtags related to DIY, furniture, and makeovers.
- Engage with Followers: Respond to comments and engage with your audience.
- Join DIY Groups: Share your projects in DIY and furniture makeover groups.
- Post Regular Updates: Keep your followers updated with progress and finished projects.
- Collaborate with Influencers: Partner with influencers to reach a wider audience.
By following these tips, you can effectively showcase your DIY furniture makeovers and inspire others to start their own projects.
Frequently Asked Questions
What Is Diy Furniture Makeover?
A DIY furniture makeover involves updating or transforming old furniture. You can use paint, new hardware, or creative techniques.
How To Start A Furniture Makeover?
Start by cleaning the furniture. Sand it if needed. Then, apply primer and paint or stain. Finish with a sealant.
What Materials Do I Need For A Makeover?
You’ll need sandpaper, paint or stain, brushes, and a sealant. New hardware like knobs or handles can enhance the piece.
Can I Makeover Any Type Of Furniture?
Yes, most types can be made over. Wood, metal, and even laminate furniture can be updated with the right techniques.
Conclusion
Revamping your furniture can be fun and rewarding. With DIY projects, creativity knows no bounds. Transform old pieces into stunning new ones. Save money and personalize your space. Start your DIY furniture makeover today and enjoy the satisfaction of your handiwork.
Unleash your inner designer and create something unique.

