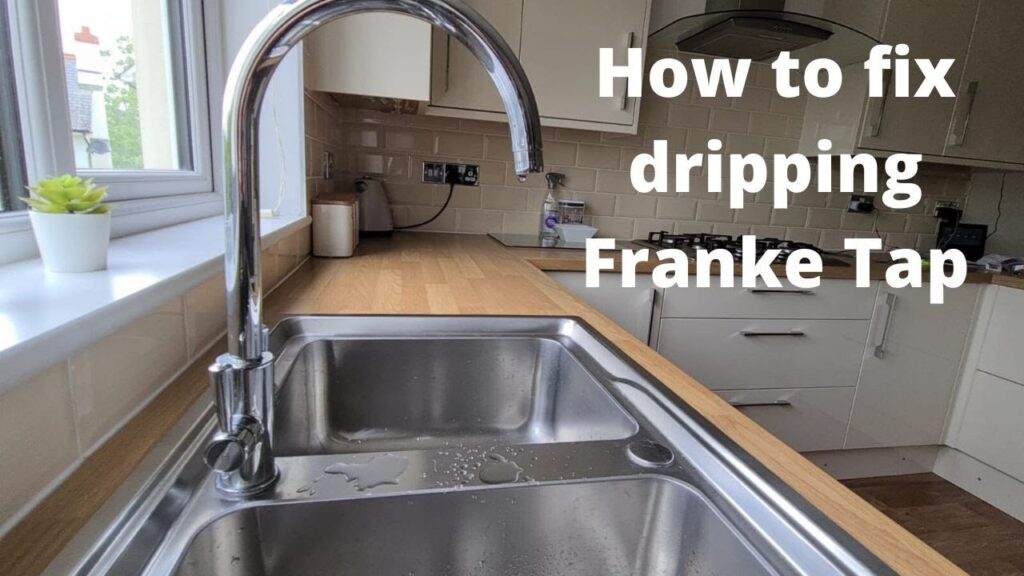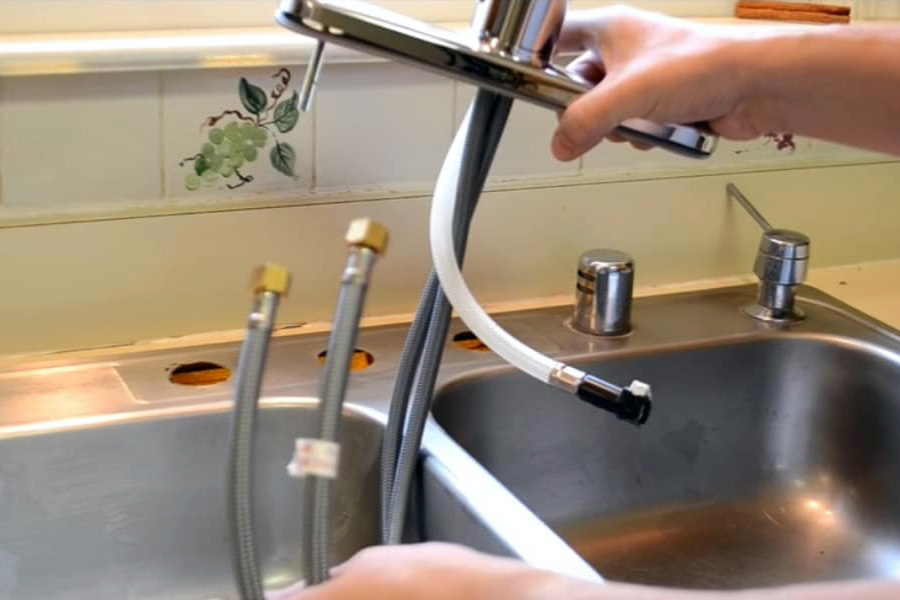
Introduction Of Kitchen Tap Leakage
Kitchen tap leakage wastes water and increases your utility bills. Fixing it promptly helps conserve water and save money.
Kitchen tap leakage is a common household issue that can lead to significant water waste and higher utility costs. Identifying the source of the leak is crucial for effective repair. Often, worn-out washers, loose parts, or faulty O-rings cause the problem.
Regular maintenance and prompt repairs can prevent further damage and save money in the long run. Addressing a leaking tap not only conserves water but also ensures your kitchen remains functional and efficient. Follow a step-by-step guide or consult a professional plumber to fix the issue promptly and effectively. By doing so, you contribute to water conservation and reduce unnecessary expenses.
Common Causes Of Kitchen Tap Leakage
Understanding the common causes of kitchen tap leakage can save you time and money. Identifying the issue early can prevent major water damage. Below are the most frequent reasons your kitchen tap might be leaking.
Worn Out Washers
One of the main causes of kitchen tap leakage is worn out washers. Washers press against the valve seat, and over time, they wear out. This wear and tear can cause dripping from the spout.
Replacing the washer is a simple and cost-effective solution. Ensure you choose the correct size to fit your tap. Check the washer periodically to avoid unexpected leaks.
Loose Parts
Another common cause of leakage is loose parts within the tap. Over time, parts like nuts and screws can become loose. This can result in water escaping from various parts of the tap.
You can often fix this by tightening the parts. Use the correct tools to avoid damage. Regularly check all parts to ensure they are secure.
Corroded Valve Seat
The valve seat connects the tap and the spout. Over time, minerals in the water can cause corrosion. A corroded valve seat can lead to leaks near the spout.
Cleaning the valve seat with a vinegar solution can help. In severe cases, replacing the valve seat might be necessary. Regular maintenance can prevent corrosion.
Leave a Comment / Kitchens / By ashrafsalman

| Cause | Solution |
|---|---|
| Worn Out Washers | Replace the washer |
| Loose Parts | Tighten the parts |
| Corroded Valve Seat | Clean or replace the valve seat |
Credit: www.1tomplumber.com
Necessary Tools For Quick Fixes
Fixing a kitchen tap leak is easy with the right tools. A few tools make the job simple and quick. Below, you will find the essential tools needed for a quick fix.
Wrench
A wrench is vital for tightening or loosening parts. An adjustable wrench fits various sizes. Keep one in your toolbox always.
Screwdriver
A screwdriver helps remove and attach screws. You may need a flat-head or Phillips-head screwdriver. Having both is best.
Plumber’s Tape
Plumber’s tape stops leaks around threaded connections. Wrap the tape around threads before screwing parts together. It ensures a tight seal.
| Tool | Function |
|---|---|
| Wrench | Tighten or loosen tap parts |
| Screwdriver | Remove and attach screws |
| Plumber’s Tape | Seal threaded connections |
Step-by-step Repair Guide
Leaky kitchen taps can be annoying and wasteful. Fixing them yourself saves money and water. Follow this Step-by-Step Repair Guide to get your tap working perfectly again.
Turn Off Water Supply
Before starting any repair, turn off the water supply. Locate the shut-off valves under your sink. Turn them clockwise to stop the flow of water.
If your sink doesn’t have shut-off valves, turn off the main water supply. This is usually found near your water meter.
Dismantle The Tap
Once the water supply is off, it’s time to dismantle the tap. Use a screwdriver to remove the handle. Be careful not to damage it.
- Remove the screw cover on the handle.
- Unscrew the handle with a screwdriver.
- Lift off the handle to expose the valve.
Take note of how the parts fit together. This will help when you reassemble the tap.
Replace Damaged Parts
Inspect the tap parts for damage. Common parts to check include:
- O-rings
- Washers
- Cartridges
Replace any damaged parts with new ones. Make sure they fit properly. You can find these parts at your local hardware store.
Reassemble the tap by following the steps in reverse. Turn on the water supply and check for leaks.
| Part | Function |
|---|---|
| O-ring | Seals the tap to prevent leaks |
| Washer | Prevents water from leaking through the tap |
| Cartridge | Controls water flow and temperature |
Tips For Preventing Future Leaks
Kitchen tap leaks can be a real headache. Taking proactive steps can save you from this hassle. Follow these simple tips to keep your kitchen tap leak-free.
Regular Maintenance
Regular maintenance is key to preventing leaks. Inspect your kitchen tap every few months. Look for any signs of wear and tear. Replace worn-out washers and gaskets. Clean the aerator to ensure a smooth water flow.
Use Quality Parts
Using quality parts can extend the life of your kitchen tap. Invest in high-quality washers, gaskets, and O-rings. These parts are more durable and reliable. Cheap parts often wear out quickly and cause leaks.
Avoid Over-tightening
Over-tightening can damage your kitchen tap. It causes the seals to wear out faster. Use a gentle hand when tightening parts. A snug fit is sufficient to prevent leaks.
How To Identify Hidden Leaks
Hidden leaks in your kitchen tap can cause significant damage. Identifying these leaks early can save you from costly repairs. Here’s how you can spot them easily.
Check Under The Sink
Open the cabinet doors under your sink. Look for any signs of water. Feel the pipes for moisture. Check the base of the cabinet for wet spots.
Use a flashlight to inspect hard-to-see areas. Look for mold or mildew. These are signs of a hidden leak.
Monitor Water Meter
Turn off all water in your house. Find your water meter. Note the reading.
Wait for one to two hours. Do not use any water during this time. Check the meter again.
If the reading has changed, you have a leak. This simple test can confirm hidden leaks.
Look For Water Stains
Inspect the walls and floors near your kitchen tap. Look for water stains or discoloration. These are clear signs of leaks.
Check for peeling paint or wallpaper. Warped or buckled floors can also indicate water damage. Address these signs quickly to prevent further damage.

Credit: www.reddit.com
When To Call A Professional
Kitchen tap leakage can be annoying. Sometimes, the problem requires expert help. Knowing when to call a professional is crucial.
Persistent Leaks
Some leaks never stop despite many fixes. These can signal deeper issues. A professional can find and solve the root problem. Long-term leaks can waste a lot of water. This can increase your water bill.<h3Complex Issues
Complex issues often need expert tools and skills. These include problems like broken pipes or faulty installations. Trying to fix these yourself can make things worse. A professional has the right tools and expertise.
Major Water Damage
Leaks can cause major water damage to your home. Wet floors or walls can lead to mold. This can affect your health. A professional can fix the leak and deal with the damage. They can also prevent future issues.
| Issue | Solution |
|---|---|
| Persistent Leaks | Call a professional to find the root cause. |
| Complex Issues | Hire an expert for proper tools and skills. |
| Major Water Damage | Get professional help to fix and prevent damage. |
Knowing when to call a professional can save you time and money. It can also prevent bigger problems in the future.“`
Cost-effective Replacement Options
Experiencing a kitchen tap leakage can be frustrating. It can also be costly. Finding a cost-effective replacement can save you money and stress. Here, we explore affordable tap brands, energy-efficient models, and DIY installation tips.
Affordable Tap Brands
Many affordable tap brands offer quality without a high price tag. Brands like Delta, Moen, and Kohler provide reliable options. These taps often come with warranties. This ensures long-term use and peace of mind.
| Brand | Model | Price Range |
|---|---|---|
| Delta | Foundations Single-Handle | $50 – $75 |
| Moen | Adler Single-Handle | $60 – $85 |
| Kohler | Simplice Single-Handle | $70 – $100 |
Energy-efficient Models
Energy-efficient taps can help reduce water usage. They save money on utility bills. Look for models with aerators. Aerators mix air with water, reducing flow without losing pressure.
- Hansgrohe Focus Single-Hole – Offers 1.2 GPM flow rate.
- Delta Trinsic Pro – Features a 1.5 GPM flow rate.
- Kohler K-596 – Provides a 1.8 GPM flow rate.
Diy Installation Tips
Installing a kitchen tap yourself can be cost-effective. Follow these simple steps:
- Turn off the water supply under the sink.
- Remove the old tap using a basin wrench.
- Clean the sink area to remove any debris.
- Position the new tap and secure it with mounting hardware.
- Connect water supply lines to the new tap.
- Turn on the water supply and check for leaks.
Always ensure you have the necessary tools. This includes a basin wrench, plumber’s tape, and a screwdriver. Proper preparation makes the installation smoother and more efficient.

Credit: m.youtube.com
Environmental Impact Of Leaky Taps
Leaky taps are more than just a nuisance. They have a significant impact on the environment. A small drip can lead to massive water waste, affecting our planet. Let’s explore the environmental impact of leaky taps and how we can address it.
Water Waste Statistics
Leaky taps can waste an enormous amount of water. Here are some staggering statistics:
- A single dripping tap can waste up to 3,000 gallons a year.
- In the US, leaky taps waste over 1 trillion gallons annually.
- Just one drop per second equals 86,400 drops a day.
Conservation Benefits
Fixing leaky taps offers several benefits for the environment:
- Water Conservation: Saves thousands of gallons annually.
- Energy Savings: Reduces the energy needed for water treatment.
- Cost Efficiency: Lowers water bills for households.
- Reduced Carbon Footprint: Less water use means fewer greenhouse gases.
Eco-friendly Solutions
Adopting eco-friendly practices helps minimize the impact of leaky taps:
- Regular Inspections: Check taps monthly for leaks.
- Use Quality Fixtures: Invest in high-quality, durable taps.
- Install Aerators: Reduces water flow without sacrificing pressure.
- Hire Professionals: Get expert help to fix stubborn leaks.
| Eco-Friendly Solution | Benefit |
|---|---|
| Regular Inspections | Identifies leaks early |
| Use Quality Fixtures | Ensures longevity |
| Install Aerators | Reduces water usage |
| Hire Professionals | Expert leak repairs |
Addressing leaky taps is crucial for conserving water and protecting the environment. Small actions can lead to big changes.
Frequently Asked Questions
How Can I Fix A Leaking Kitchen Tap?
To fix a leaking kitchen tap, first, turn off the water supply. Then, disassemble the tap to inspect and replace worn-out washers or O-rings. Reassemble the tap and turn the water back on.
What Causes A Kitchen Tap To Leak?
A kitchen tap often leaks due to worn-out washers, O-rings, or seals. Over time, these components degrade, leading to drips and leaks.
Can A Leaking Kitchen Tap Increase Water Bills?
Yes, a leaking kitchen tap can significantly increase your water bills. Even small drips add up over time, wasting gallons of water.
Do I Need A Plumber For A Leaking Tap?
You may not need a plumber for minor leaks. Many leaks can be fixed with basic tools and replacement parts. However, for complex issues, it’s best to consult a professional.
Conclusion
Addressing kitchen tap leakage promptly can save money and prevent water damage. Regular maintenance ensures long-lasting, efficient taps. Don’t ignore minor drips; they can escalate. A well-maintained kitchen boosts home value and functionality. Prioritize fixing leaks to maintain a healthy, cost-effective home environment.
